WATERPROOF HYBRID FLOORS – FLOATING INSTALLATION
NEXT STEP HYBRID FLOORING is a collection where the wear layer is extracted from real wood and the core is made of a mineral composite. The final product are highly durable, long-lasting and WATERPROOF FLOORS. The DENSCORETM core makes BARLINEK HYBRID FLOORS very durable and water resistant. With their high heat transfer coefficient, the floors after gluing are ideal for underfloor heating and cooling systems. The surface of HYBRID FLOORS is completely resistant to the most common types of stains: red wine, olive oil or acetone. The hardness of the entire ceramic coating is achieved with several layers of the topcoat with an admixture of CORUNDUM for protection against wear, even when frequently used. Thanks to this, BARLINEK HYBRID PLANKS can be used not only in residential rooms, but also in hotels and other public spaces, such as offices and conference rooms. The structure of the ULTRA HARD topcoat also reduces the risk of slipping in bathrooms, kitchens and spa rooms.
BEFORE THE INSTALLATION
Before the floor delivery to the installation site, windows and doors must be installed in the building and all “wet” works such as plastering, partition wall construction, painting, etc. must be finished. If there are basements under the floor installation place in the building, they must be dry and well-ventilated. The floorboards can be installed in all residential rooms such as rooms, bedrooms, kitchens or bathrooms, and most public spaces.
1.
Take special care when transporting or unloading pieces of packaging with the floorboards to avoid any mechanical damage. Store the floorboards in the original packaging in a dry place in a horizontal position on pallets or wooden beams. Provide a free space of at least 75 mm between the pieces of packaging with floorboards and the floor. Store the floor in the original packaging in a room in which it will be laid for at least 48 hours to acclimate it. The relative humidity at the place of storage and installation of the floors should be between 45% and 60%. Air temperature should be in the range of +18°C-+24°C.

2.
The wooden substrate moisture (or wood-based panels) should not exceed 9%. Concrete substrate moisture should not exceed 2% and of an anhydrite substrate — 0,5%. Measure the substrate moisture using the carbide method, so-called CM. Record the measurement results.

3.
The maximum permitted irregularities may be up to 3 mm, measured over a length of 2 m. Local irregularities should not be greater than 2 mm over a length of 1 m.

4.
The substrate should be dry, stable without scratches, cracks, and clean without visible contamination by chemicals such as paints, adhesive residues, grease, wax, etc.

5.
Stop the cracks and defects. When installing the floor with permanently adhered ceramic tiles, fill all the joints between the tiles with putty. Sweep or vacuum the substrate before laying the underlayment.

6.
It is not allowed to install the floorboards on the existing soft carpet flooring, PVC linings, or carpets.

7.
The floorboards can be installed in rooms with periodically increased air humidity and exposed to short-term splashes of water.

8.
An Expansion gap of at least 7mm should be used in rooms that are 12m x 12m. If the room exceeds 12m in width or length, add 1mm expansion on the 7mm for every extra 0.9m, (e.g. room length 12.9m the expansion would be 8mm). If the room exceeds 20m in width or length then an expansion joint / threshold must be used. In the bathroom, when the floor is glued down, the expansion gap can be reduced to 3 mm.

9.
It’s necessary to use a special polyurethane-mineral Next Step underlay from Barlinek. The underlayment needs to handle various types of loads over its entire service life.

10.
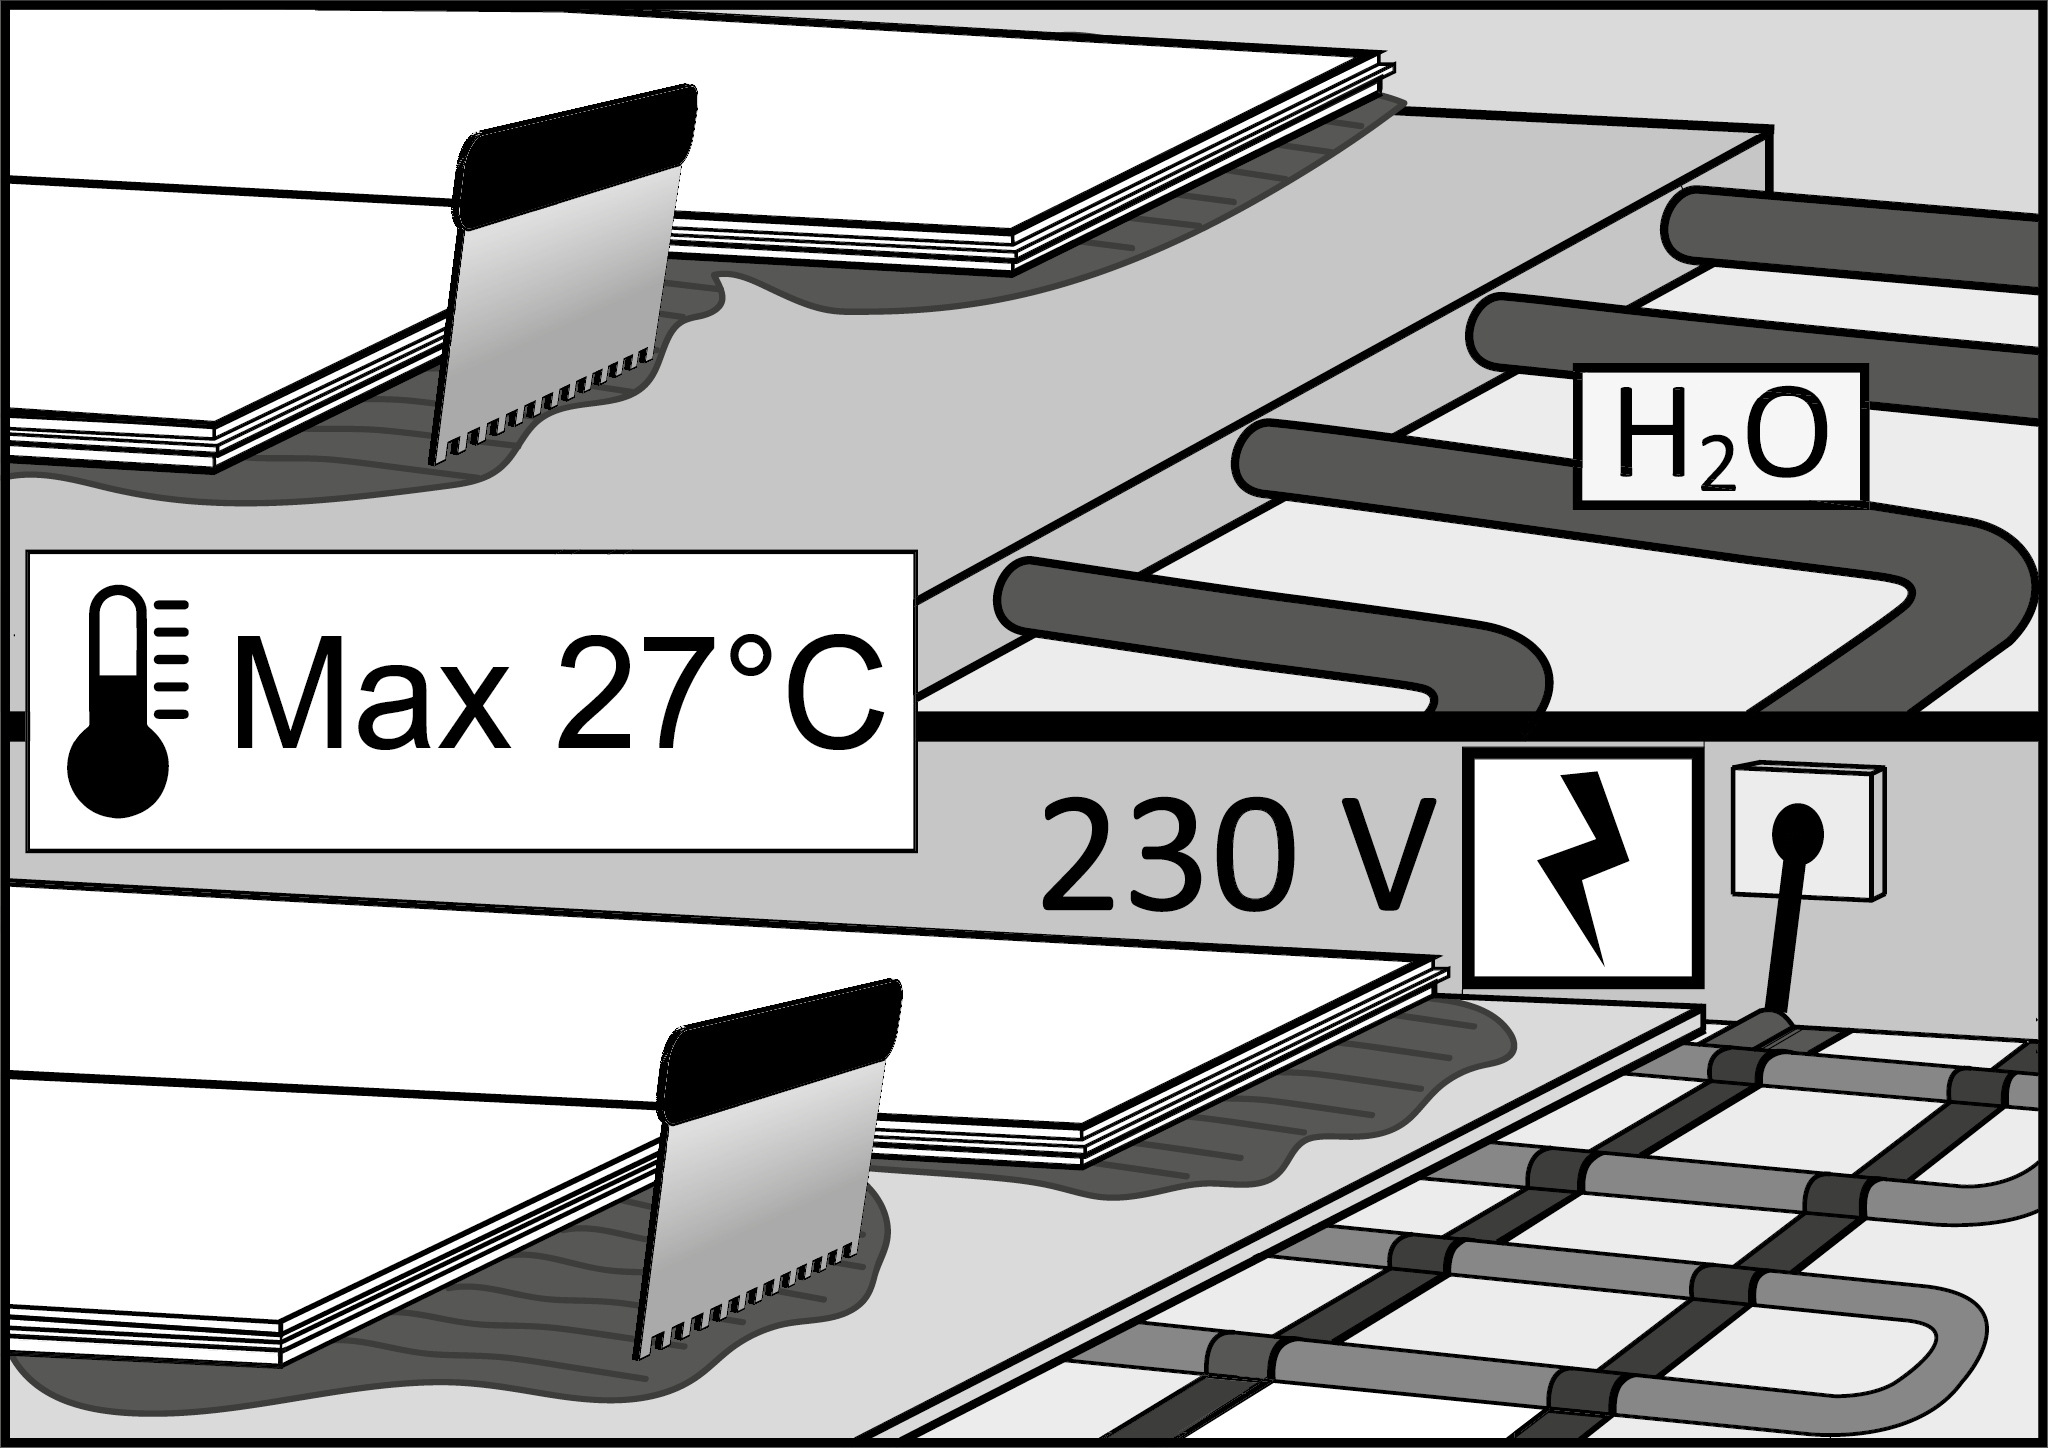
Allowed are only electrical and water underfloor heating systems which heating installation is embedded in the screed.
IMPORTANT
The heat source of the heating system must be situated at least 15 mm away from the floorboard. Only assembly by gluing down to the surface is allowed.
Before installing the floorboards on the underfloor heating system, perform the so-called screed heating. It consists of a cyclical heating of the compound in order to eliminate the so-called residual moisture from the compound and remove underlayment hazardous stresses. The screed heating protocol describing the entire heating cycle is available at barlinek.com
After heating the screed, you can start the floor installation.
IMPORTANT
• Essential requirement of assembly is conducting the process of heating the screed and preparing the protocol from this process. Information about the process of heating the screed and the protocol are available at barlinek.com. If there was a break in heating operation after the screed heating, set the heating system to 21°C several days before the installation and install the floor in this temperature. Perform the screed heating also in summer. In case of gluing down to the underlay follow the recommendations of the manufacturers of adhesive systems recommended by Barlinek.
• It is recommended to keep the temperature at 21°C for the first 48 hours and then increasing it by 1-2 degrees a day to obtain the optimum temperature after the installation. It is not recommended to set the heating system when the floorboard surface has a temperature of 27°C. The relative air humidity in the room must be maintained at the level of approx. 45-60% throughout the entire year, regardless of the heating system used.
Screed moisture content in case of installation on underfloor heating should not exceed:
• 1.8% for cement screeds measured using the CM method,
• 0.3% for anhydrite screeds measured using the CM method.
• The entire surface of the floor should be heated, so as to prevent the wood and the board core from non-uniform working. It will also guarantee the greatest possible comfort of use (no cooler areas on the floor).
• Do not cover the floor laid on the underfloor heating system with carpets. All pieces of furniture placed on the underfloor heating system should have feet of at least 10 cm high.
• Small gaps between the boards may occur during the heating season resulting from the minimum working of wood.
• With the heating season drawing to an end, gradually reduce the temperature by 1°C or 2°C a day until reaching the room temperature of approx. 21°C.

11.
Please remember that the top board surface is made of veneer from natural wood. Before the installation, remove the boards from several packagings and select the boards in matching colour and length.

12.
Remember that wood is a natural product, and every board is different.

13.
Before the installation, the investor or parquet layer should inspect the floorboards and check whether they comply with the order. The floorboards must be checked for quality, finish, gloss, colour, mechanical damage, and topcoat class and the same production batch (all information can be found on the label, in the instructions or product sheet). In case of any doubts, the investor or parquet layer should not use any board he considers unsuitable for installation and should contact the seller immediately. Installing damaged board results in loss of warranty. When ordering a floor, consider a waste factor of up to 5%.

14.
It is recommend before starting the installation, measure the length and width of the room carefully to plan the layout of the boards in detail. With the knowledge of the board width (190 mm), calculations and cutting can be made so that in the last strip of the floor the width of the boards is greater than 50 mm. Such a recommendation is purely aesthetic and does not affect the usage of the floor.

15.
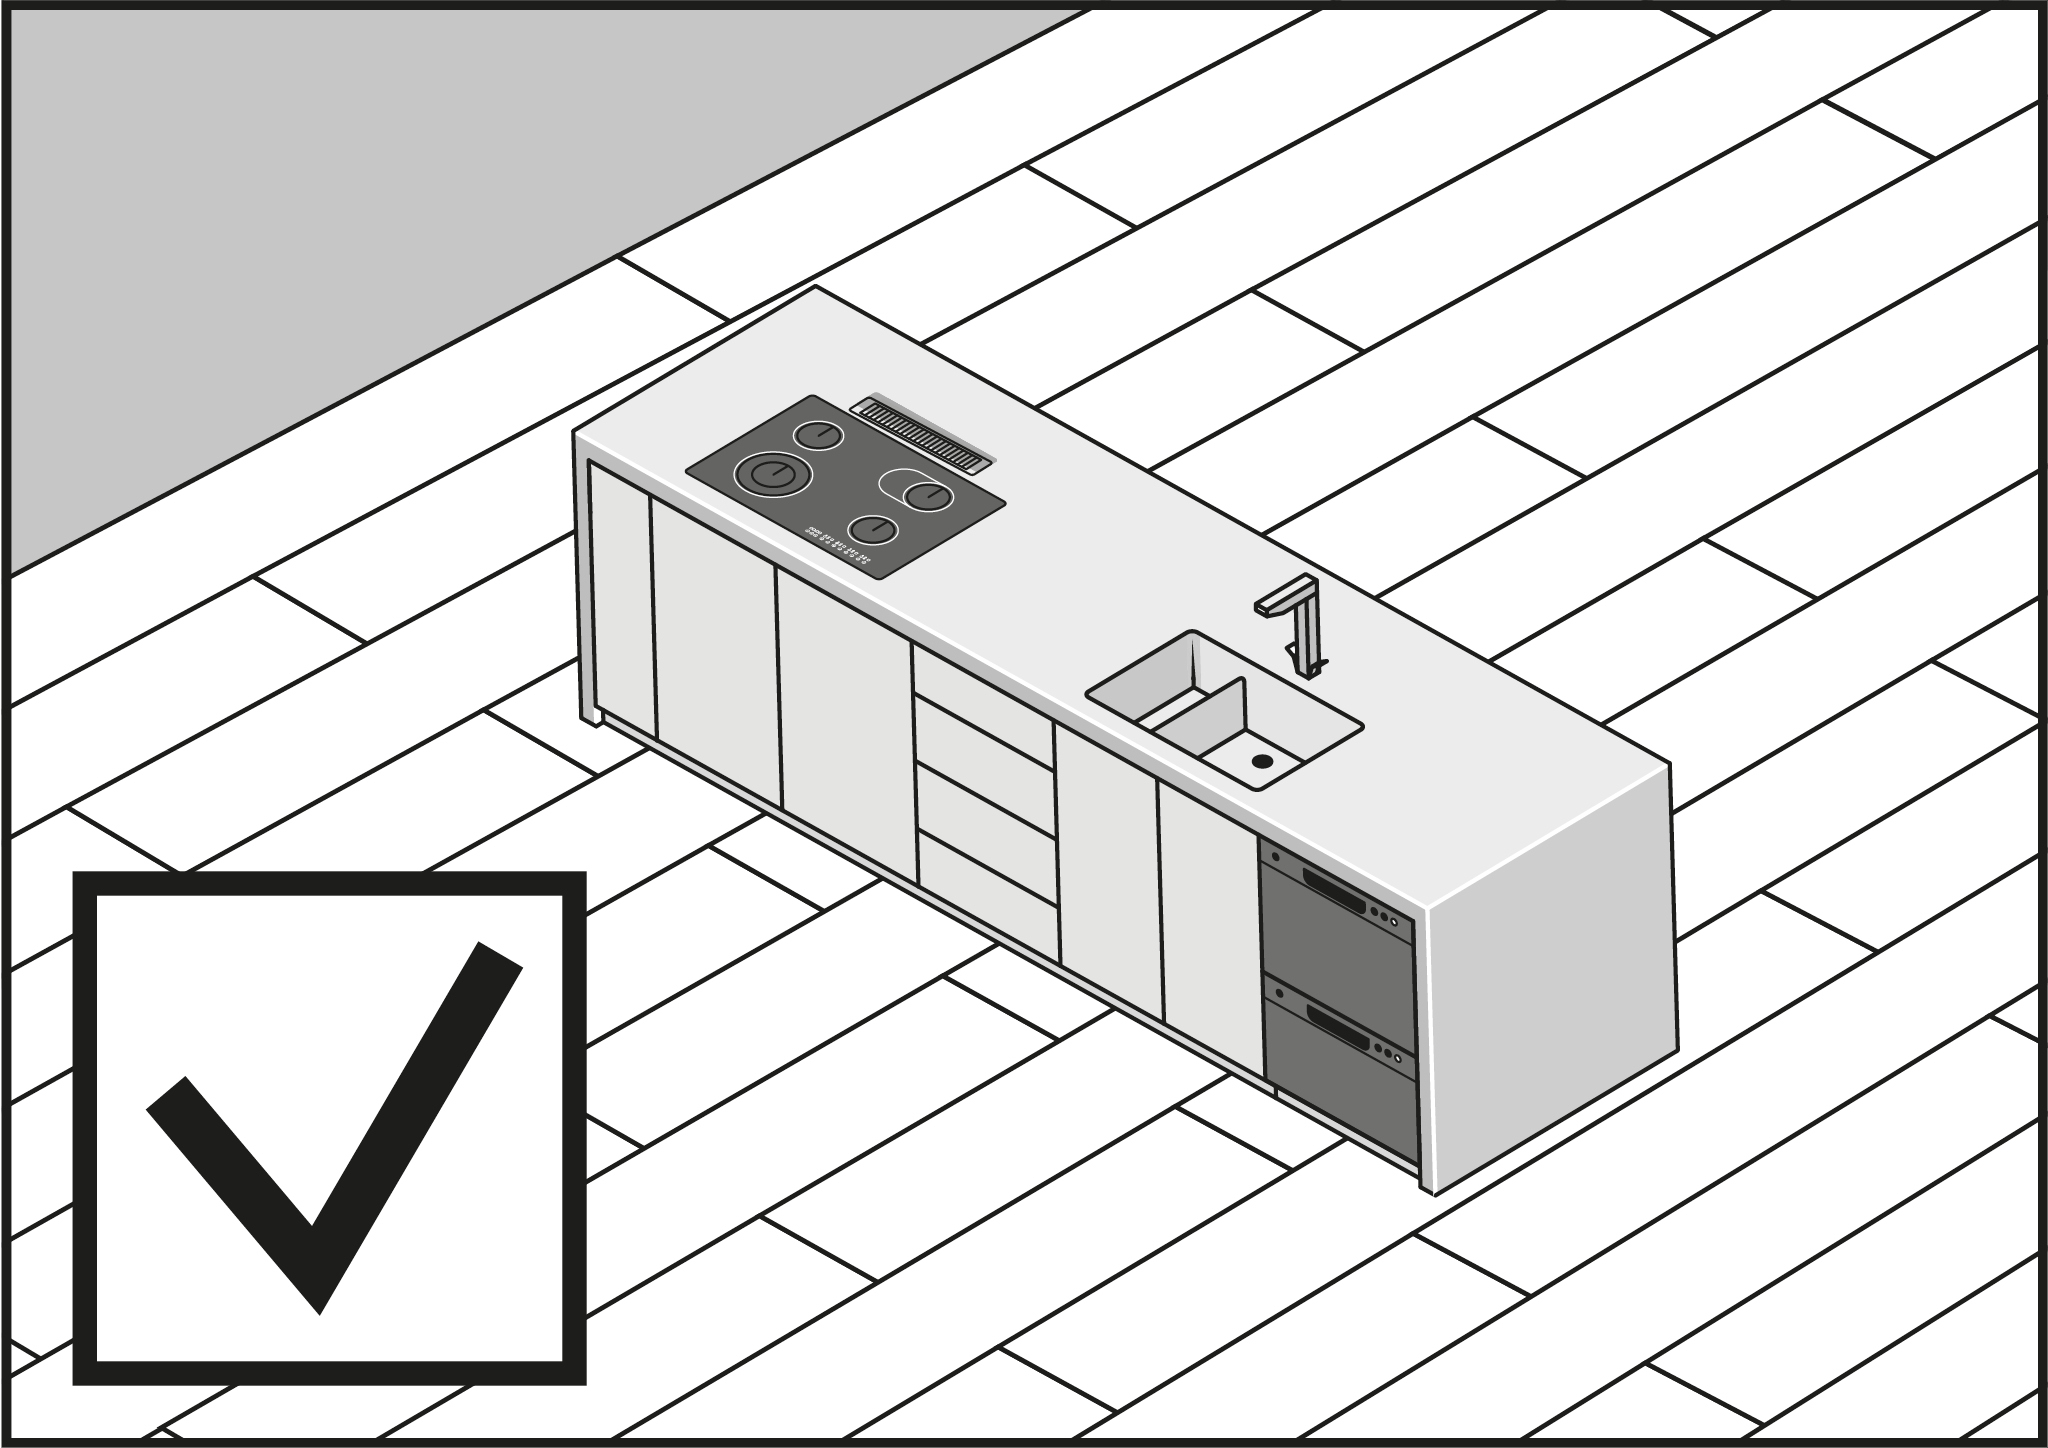
Heavy objects such as kitchen islands and furniture can be placed on the floor.

16.
Recommended tools and materials for floor installation:
• Safety glasses
• Vacuum cleaner or broom
• Knee pads
• Protective gloves
• Steel hammer 300 g to 500 g
• Expansion gap wedges
• Tapping block
• Pull bar
• Measuring tape
• Pencil
• Handsaw for wood
or electric jig saw
• Spirit level
• Cutting knife
• Tape for adhering the barrier
• Underlayment Next Step
• Vapour barier

INSTALLATION
17.
Place the underlayment. Adjoining underlayment strips must be installed tangentially with each other and connected with tape.

18.
Start the installation from the left wall side and continue to the right. The expansion gap size should be a minimum of 7 mm. Expansion gap wedges or pieces of laid boards can help maintain the same size of the expansion gaps. The expansion gaps should be made along the perimeter of the room and around all other obstacles such as columns, stairs, ceramic tiles, etc.

19.
Place the short edge of the next board at an angle of approx. 20° to the first one and lay down. The connected boards must be exactly in line.

20.
Handsaw or electric saw can be used for cutting the boards. After cutting the last board, remember to leave an expansion gap of at least 7 mm in width. If the cut-off board piece is longer than 200 mm, it can be used for starting the installation of the second floor strip. The distance between frontal joints in two adjacent strips of the floor should be at least 200 mm.

21.
The last board in the first floor strip can also be cut off with a sharp cutting knife. Cut the top layer several times and then break the board by resting it on the edge. For short edges of board we recommend using a handsaw or an electric saw

22.
Tap the last board lightly with metal pull bar eliminating possible gaps.

METHOD 1 – INSTALLATION SINGLE BOARDS
23.
Place the board in the second strip of the floor at an angle of approx. 20° in the interlocking joint of the first board.

24.
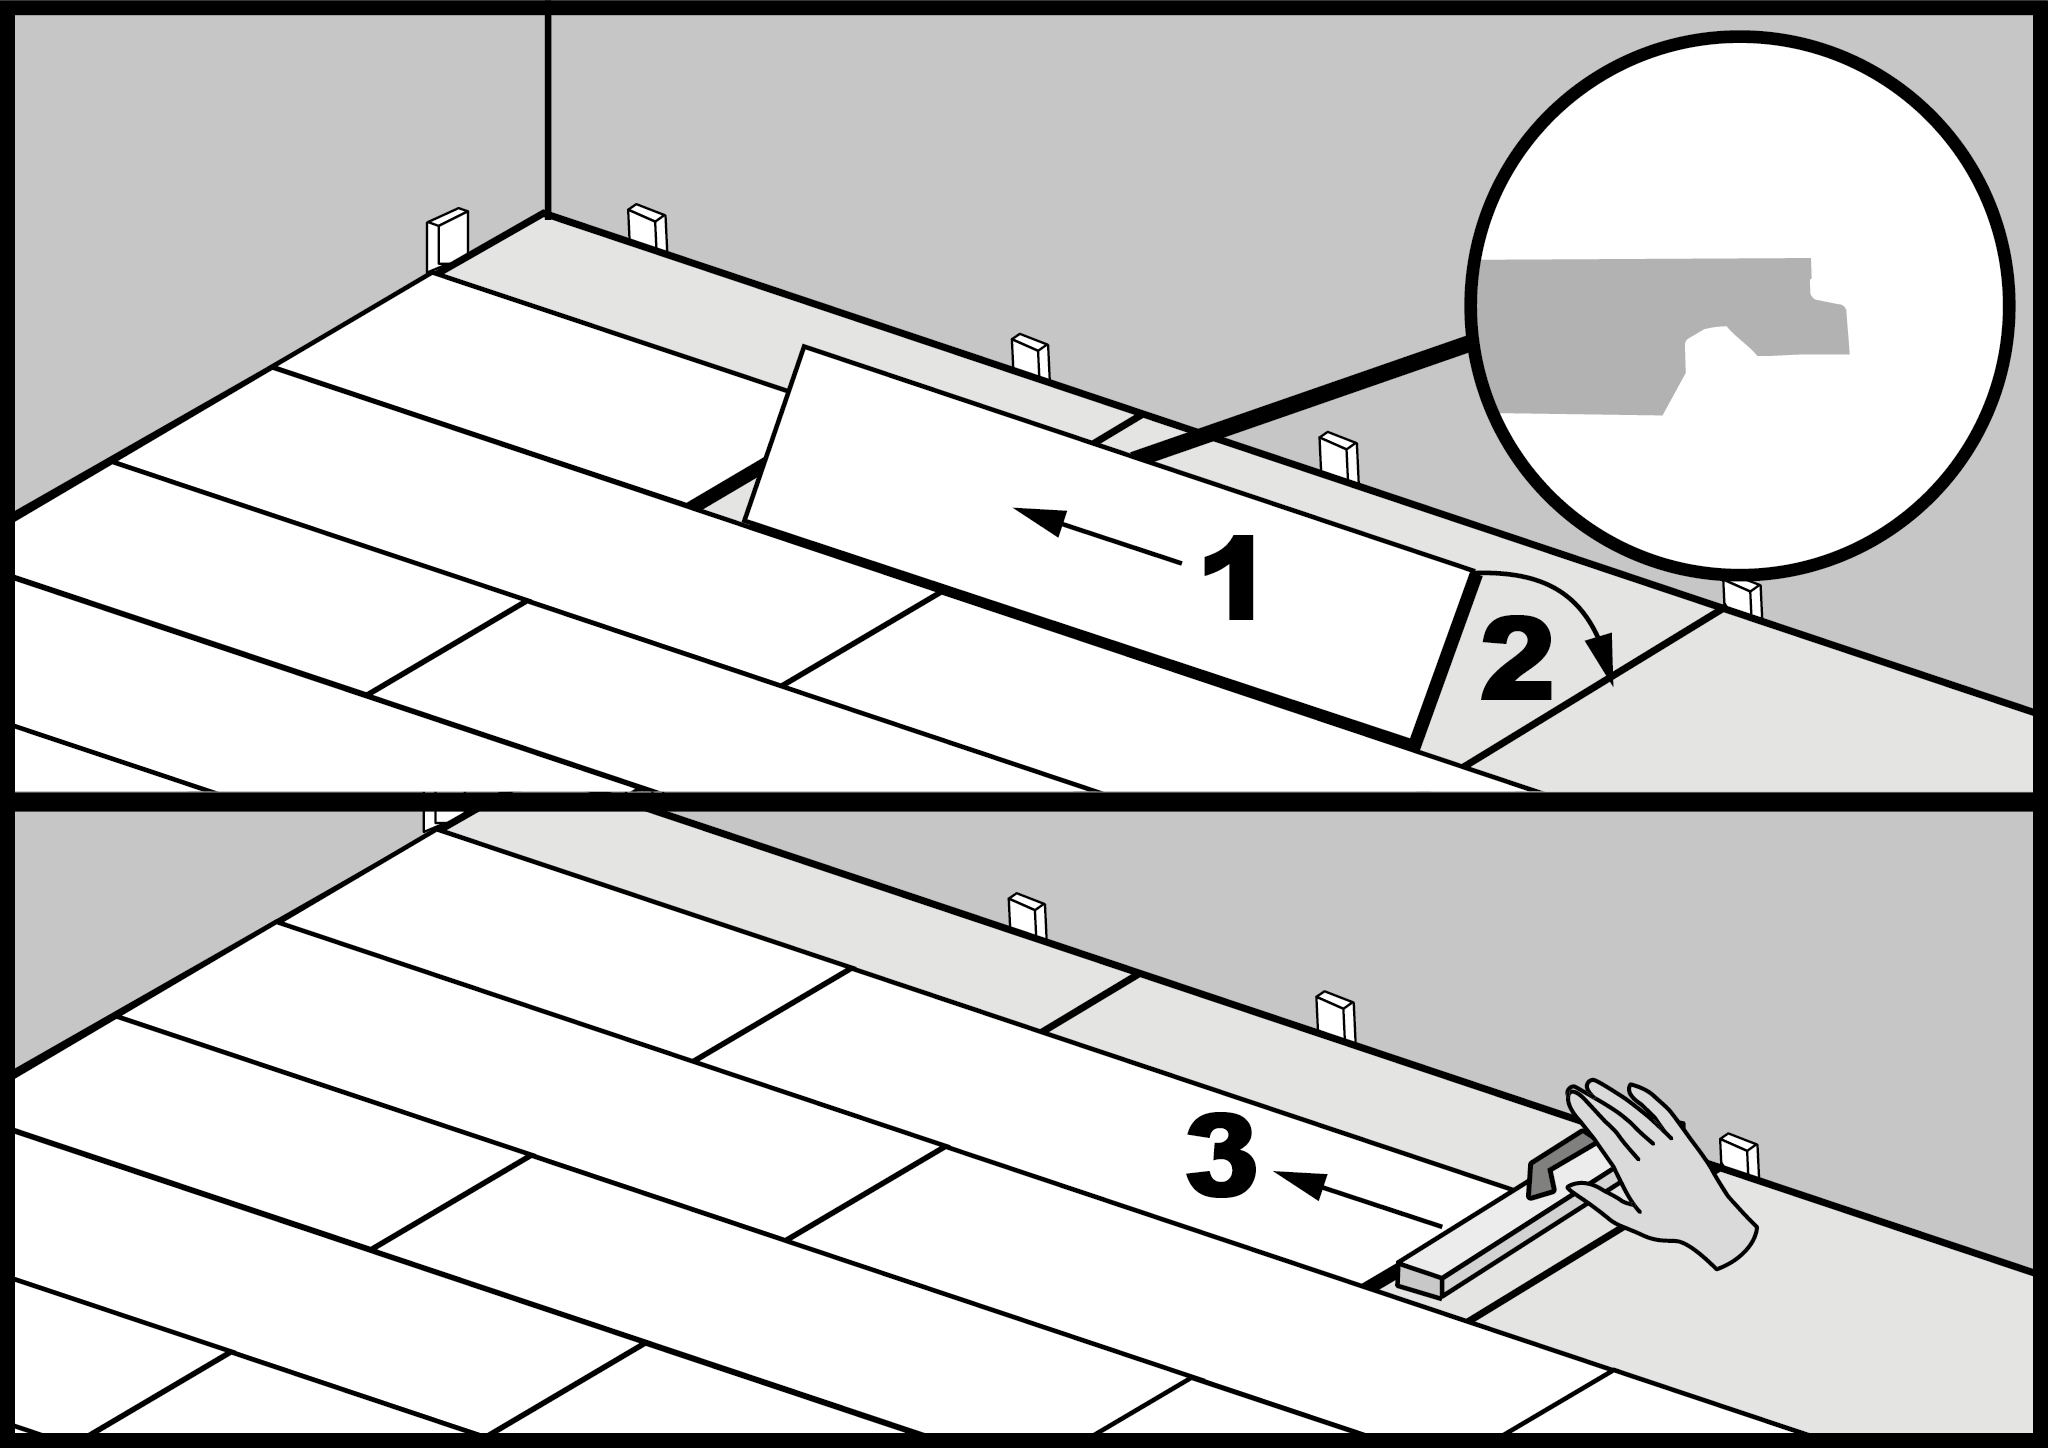
The installation of the second board in the strip consists in connecting the boards using the short edge. First board lifted at an angle of about 20° (you can use support wedges), the second at an angle of about 20° to the first; insert it in the short edge (1) and then lay down so that the board rests on the longitudinal interlocking joint of the first strip (2). It is important to push the lifted board closer to the longitudinal interlocking joint leaving a ~2 mm-gap.

25.
Leave a ~2 mm gap at the longitudinal interlocking joint of the first boards strip (!). Next, gently tap the board to the longitudinal interlocking joint (2) The installation is made with the boards lifted at an angle of about 20° (1). Next, remove the wedges supporting the board (3).

26.
Lightly lay down the board (1) tapping the boards (2) along the entire floor strip (be careful not to mechanically damage the board lock). The tapping block should touch the interlocking joint protruding part. Do not tap the usable layer! Install the successive boards in the floor strip as indicated in figures 24, 25, 26, and 27.

METHOD 2 – PLACING THE PLANKS WITH WHOLE ROWS
27.
Please lay evenly the second row of the floor. Fit it to the first row (2). Using a piece of the board, please connect 2 installed boards (1). Lift the entire row up so that the tongue is on the groove of the first row (3).

28.
Please press gradually the tongue of the raised row of the floor into the groove along the entire length of the floor. Gently tap the boards along the entire length of the floor (1). During tapping, the row will drop to the ground (2).

29.
Gently tap the entire row on the entire width of the floor (1). Also tap the row from the wall as shown on the image No 6.

30.
Use the metal pull bar to tap the last row of the boards.

31.
For the boards to be laid near the radiator tubes, draw the openings with a diameter larger by 14 mm.

32.
Cut the openings in the board. Draw a line across the middle of the openings and use the saw to cut the board.

33.
Adhere the cut-off board piece using a construction adhesive.

34.
There is no need to make an expansion gap in the passage from one room to another. The expansion gap must be made at the walls and other elements permanently embedded into the building e.g. stairs, columns and other obstacles.

35.
Important during installation. Possible installation “from the back”. Lok to lock in the long side of the board first, as close to the short joint as possible (1) Please drop the board ensuring this is engaged on the long side correctly (2), gently tap up and connect the boards (3).

36.
The product can be installed in bathrooms and other rooms where water splashes can occur. Use water repellent sealant (e.g. silicone) on peripheral expansion gaps to prevent water from getting under the floor (this may create conditions for the development of fungi, mould and bad odours).

37.
It is essential to make expansion gaps around the walls, shower tray and bath casings, toilet pans and other obstacles permanently fixed to the ground. In case of installation in such rooms, the floor should be attached to the substrate. To glue down the floor, use the recommended glue system. For more information please visit: barlinek.com

38.
After installing the entire floor, install the decorative skirting boards. Fix them only to the walls using mounting clips or construction adhesive.

39.
In order to obtain a natural floor layout, it is recommended to lay boards of different lengths in one floor strip.

40.
The minimum recommended joints displacement on the short edges of the boards in the adjacent floor strips must be greater than 200 mm.
