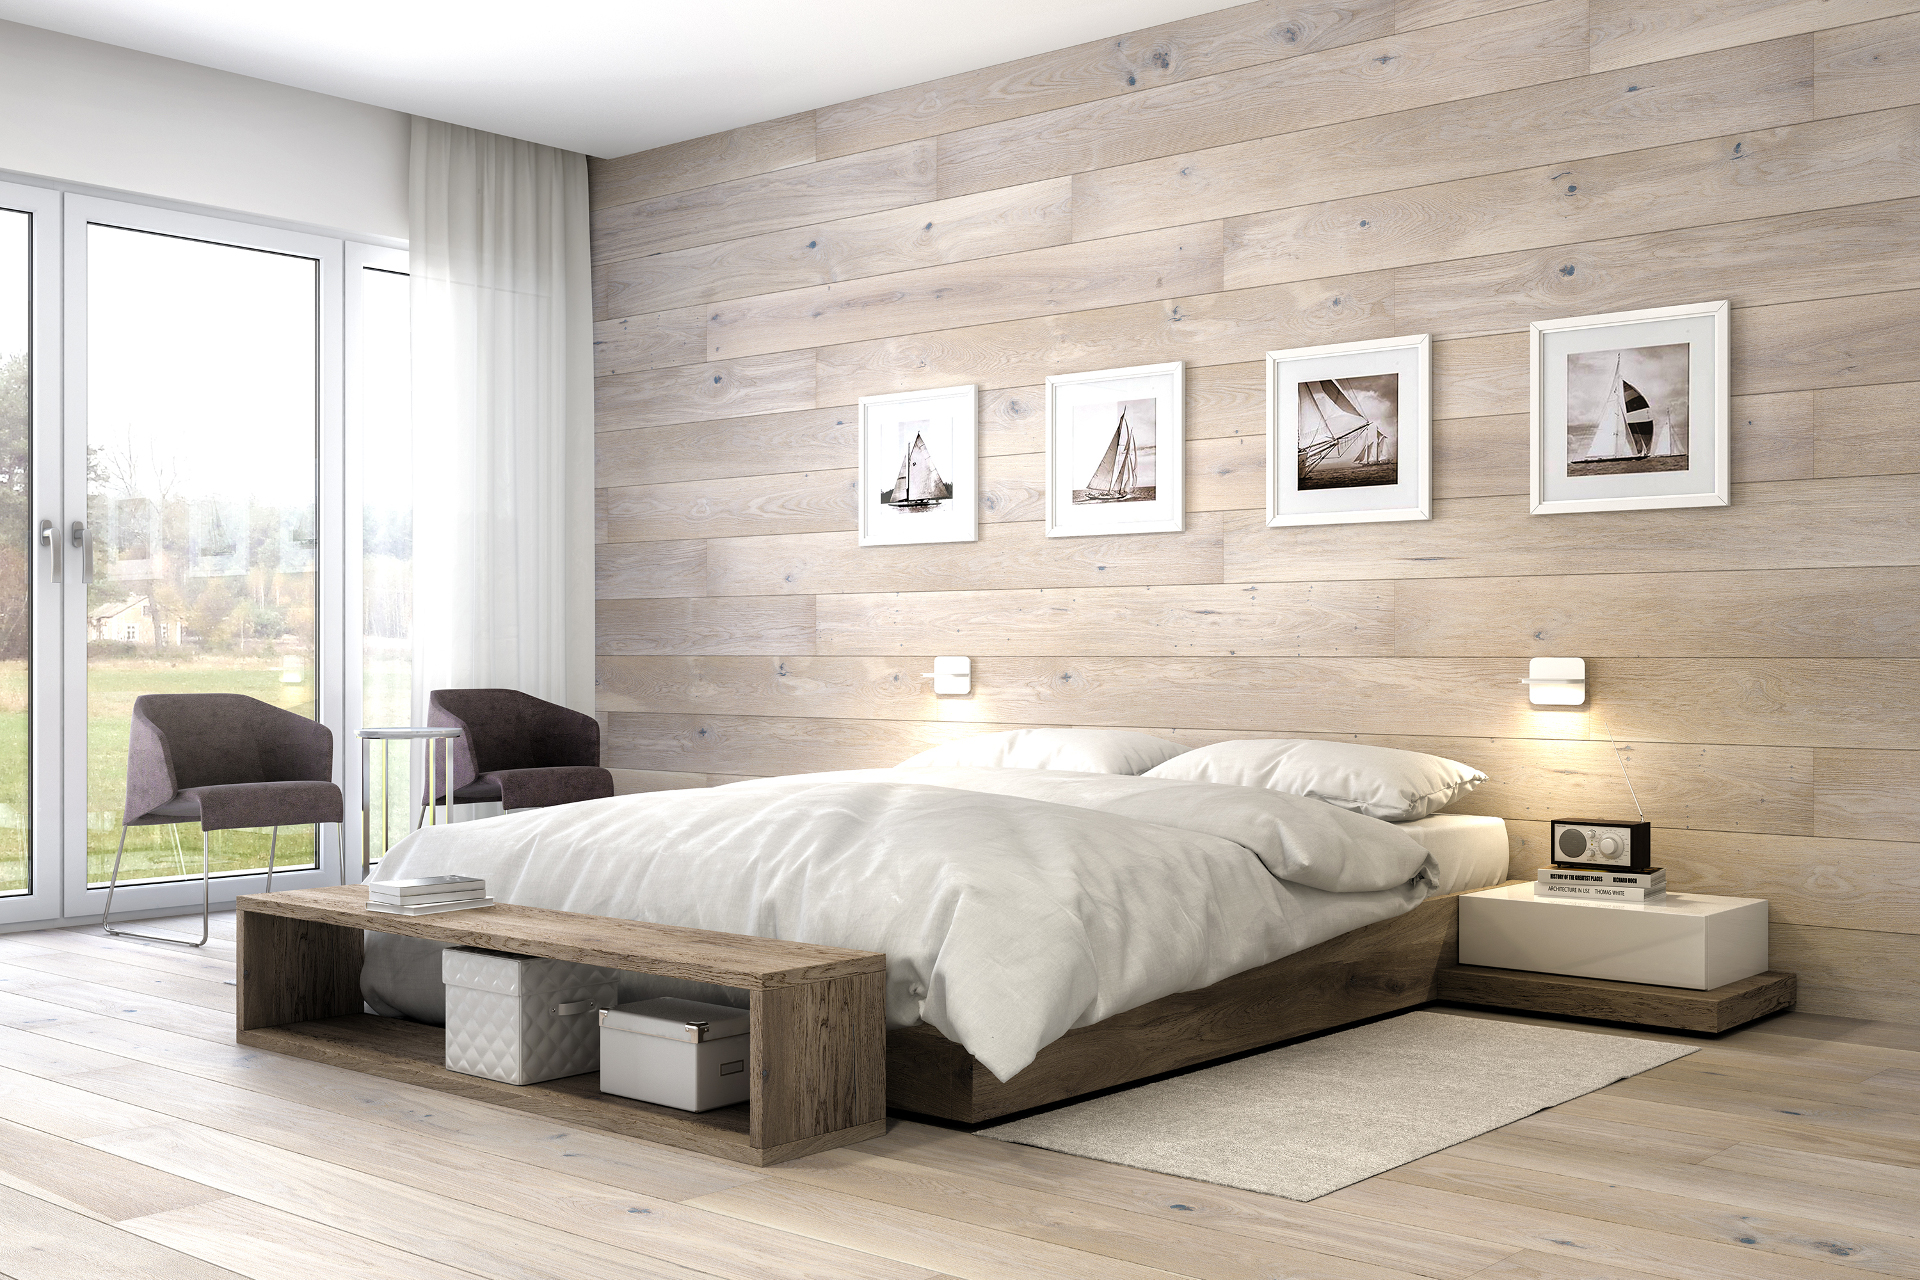
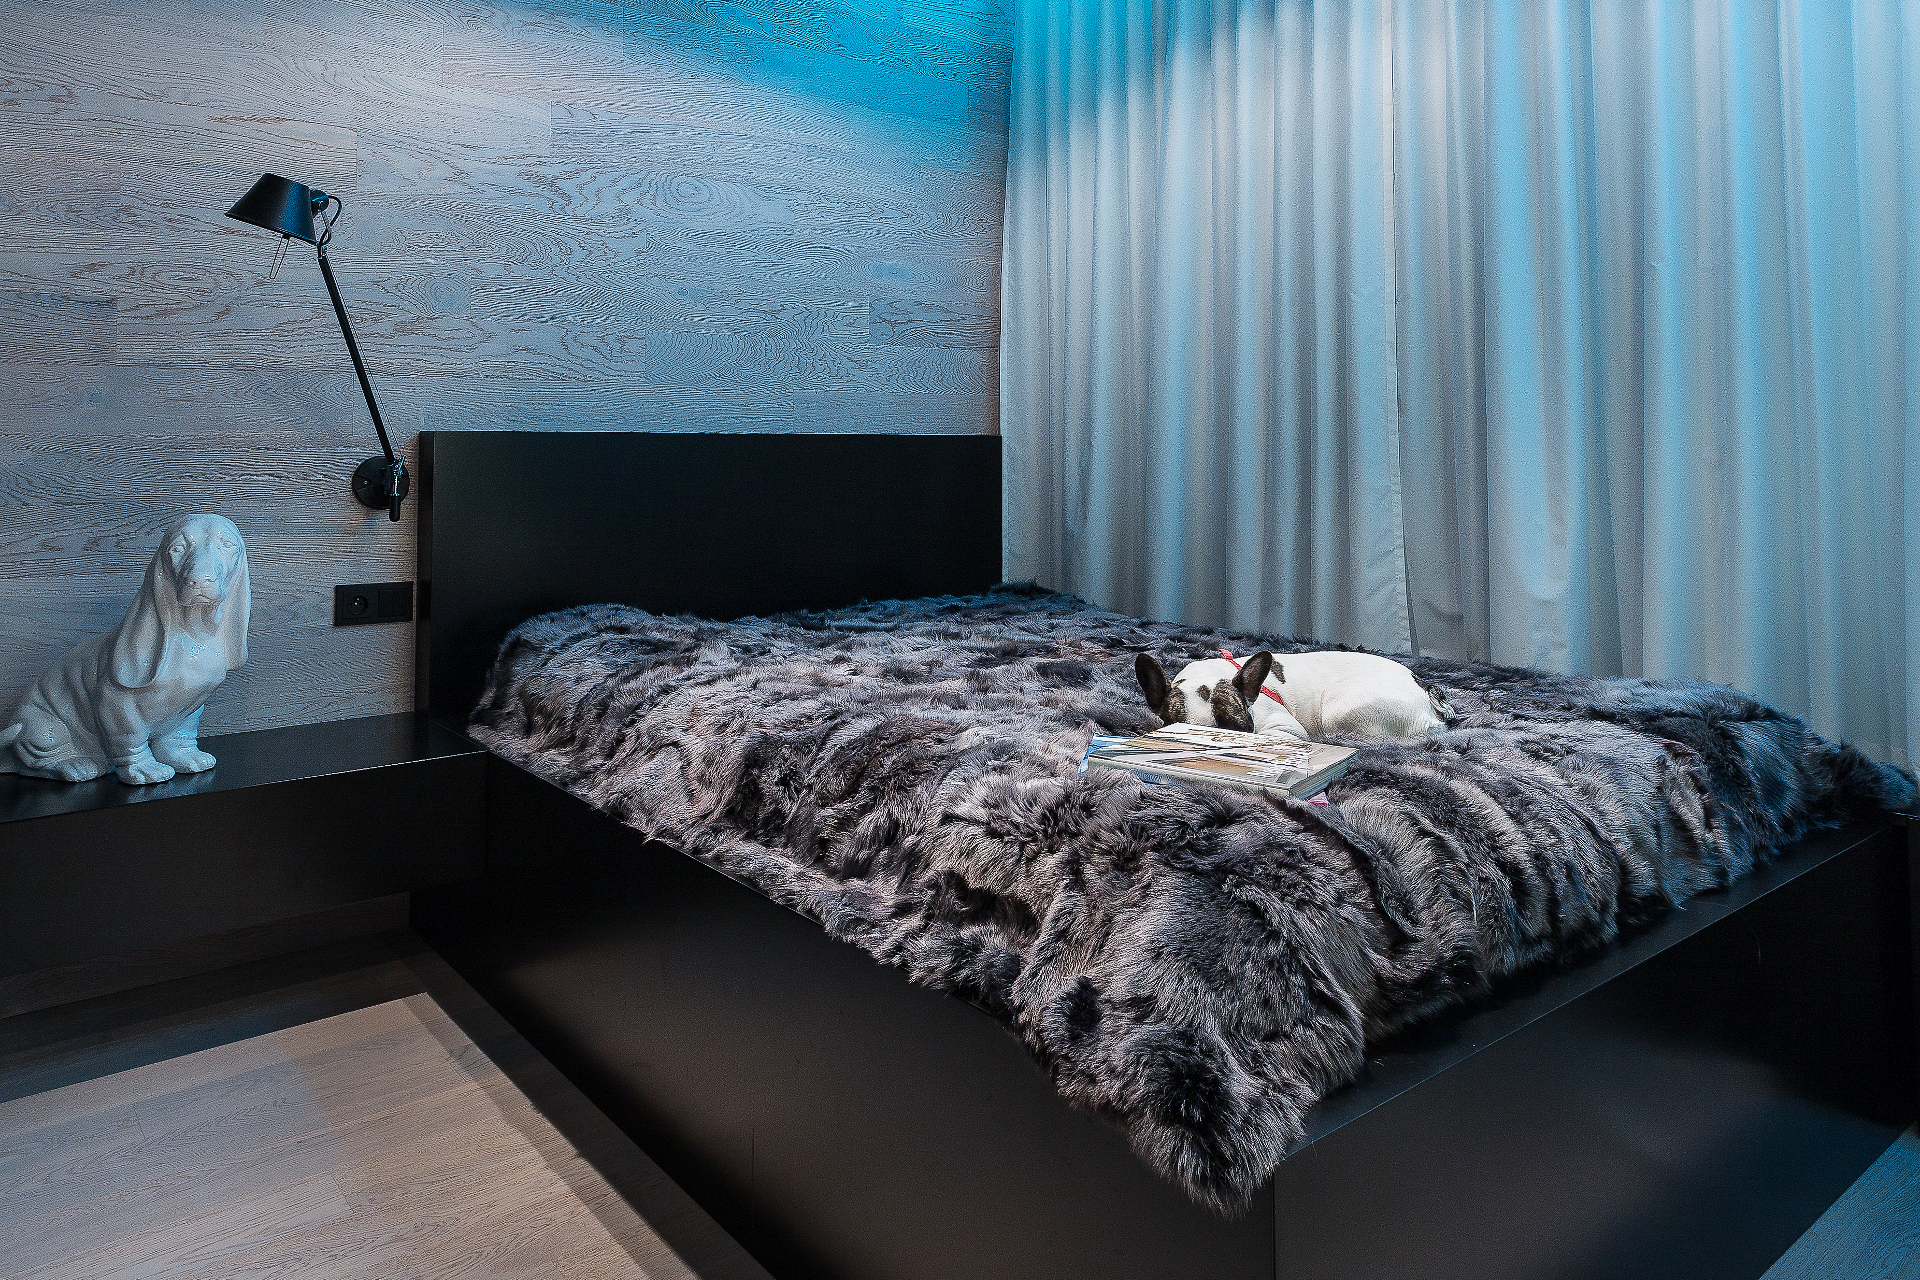
ENGINEERED WOOD FLOORING ON THE WALL IS:
A quiet, cosy and warm interior, designer decorative element and a unique way to emphasize the natural beauty of wood. A variety of species and finishes as well as available board widths. Interior design is dominated by natural materials, especially wood. On the one hand, new applications for wood are being looked for, on the other hand, it takes from traditional solutions that have been used for centuries in different parts of the world.
ENGINEERED WOOD FLOORING INSTALLATION ON THE WALL
Instructions for installing the Barlinek board on the wall:
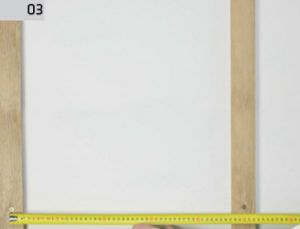
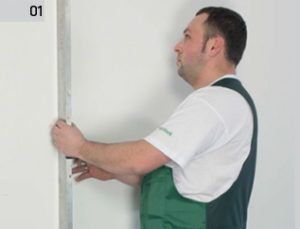 STEP 1
Check the level of the wall using a spirit level. The deviation must not exceed 2 mm over 2 metres.
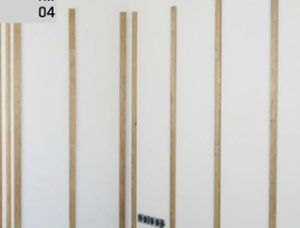
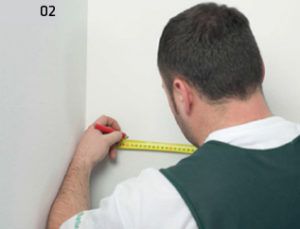 STEP 2
Mark the places where the wooden construction floats, with a cross-section measuring at least 18mm x 50mm, are to be attached. Attach the first float a maximum of 10cm from the internal or external corner.
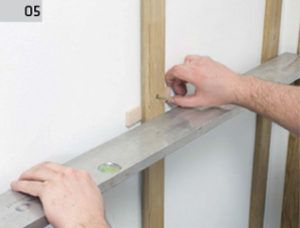
 STEP 3
The distance between subsequent floats should not exceed 50 cm.
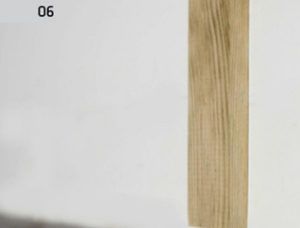
 STEP 4
Attach the floats using rawlplugs, remembering that their heads must not protrude beyond the float.
 STEP 5
The floats must form a single plane. Check this by using a spirit level applied over a width of at least 3 floats. If necessary use plywood or other material to level the structure.
STEP 6
Check the level of the wall using a spirit level. The deviation must not exceed 2 mm over 2 metres.
 STEP 7
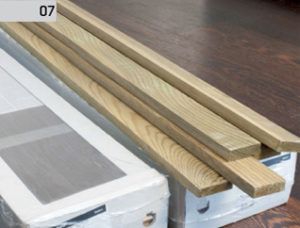
Before fitting the boards, acclimatise them in their factory packaging for around 48 hours. The Barlinek board is made from natural wood, which makes its pattern unique. Because of this, select and decide on the colour scheme of the surface to be covered before starting.
 STEP 8
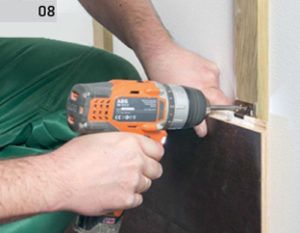
Apply wood or construction glue to the wooden structural beams (to a height of one board). Lay the first board, with the tongue removed, to the glued grid and fix it from above with the clips.
 STEP 9
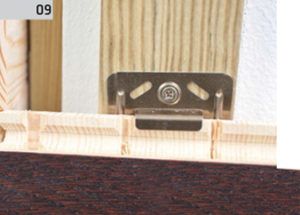
Fit the mounting clip into the protruding groove, then screw it on to each beam with the aid of a wood screw.
STEP 10
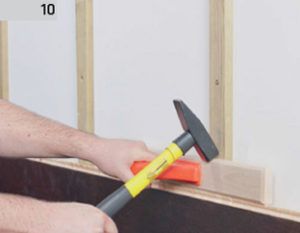
Connect the subsequent boards together using the locks, knocking them home.
 STEP 11
The external corners can be finished by, for example, trimming the edges of the boards at an angle of 45 degrees. Apply assembly glue where the edges meet.
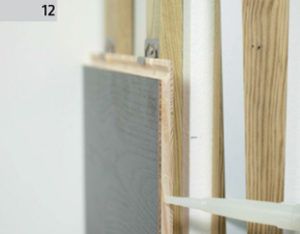 STEP 12
Apply assembly glue where the boards meet at the corner trimmed in this way.
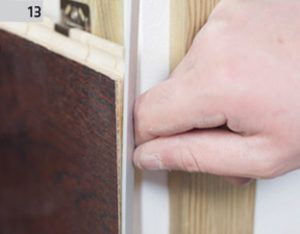 STEP 13
Then glue in an aluminium flat bar, for example, at this point, which serves as both decoration and protection on the sharp trimmed edge. Aluminium or wooden angle bars can be used instead.
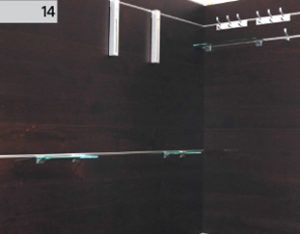 STEP 14
The end result. Many finishing elements can be used, such as shelves or hangers.
ENGINEERED WOOD FLOORING INSTALLATION ON THE WALL – ADDITIONAL INFORMATION
For the installation of wooden layered boards, Barlinek recommends boards with a 5GC front lock. This lock does not need to be tapped down on a short edge, making it much easier to install the boards on the wall. The connection in the internal corner can be finished with an acrylic filler in the colour of the boards. The connection between the floor and wall or the end of the wall lining with the ceiling can be covered with a skirting board. We can make a quarter round for covering joints from the skirting board – cutting the top of the skirting board to a thickness of 14 mm. When attaching a TV set or a cabinet to the wall lining, the anchors should be fixed to the brick wall. Lightweight objects can be attached directly to the wooden cladding – using the intended anchors.
The conditions of use of wooden layered boards installed in places other than the floor are the same as floor boards, i.e. relative air humidity from 45% to 60%, air temperature from +18°C to +24°C. Use the care products from the Barlinek product range dedicated to individual finishes of the boards for the care of wooden cladding made of Barlinek boards. A mounting metal clip for fast, safe and easy fixing of each multi-layer 14 mm or 15 mm Barlinek board on a wall.