Information
Engineered wood flooring – products
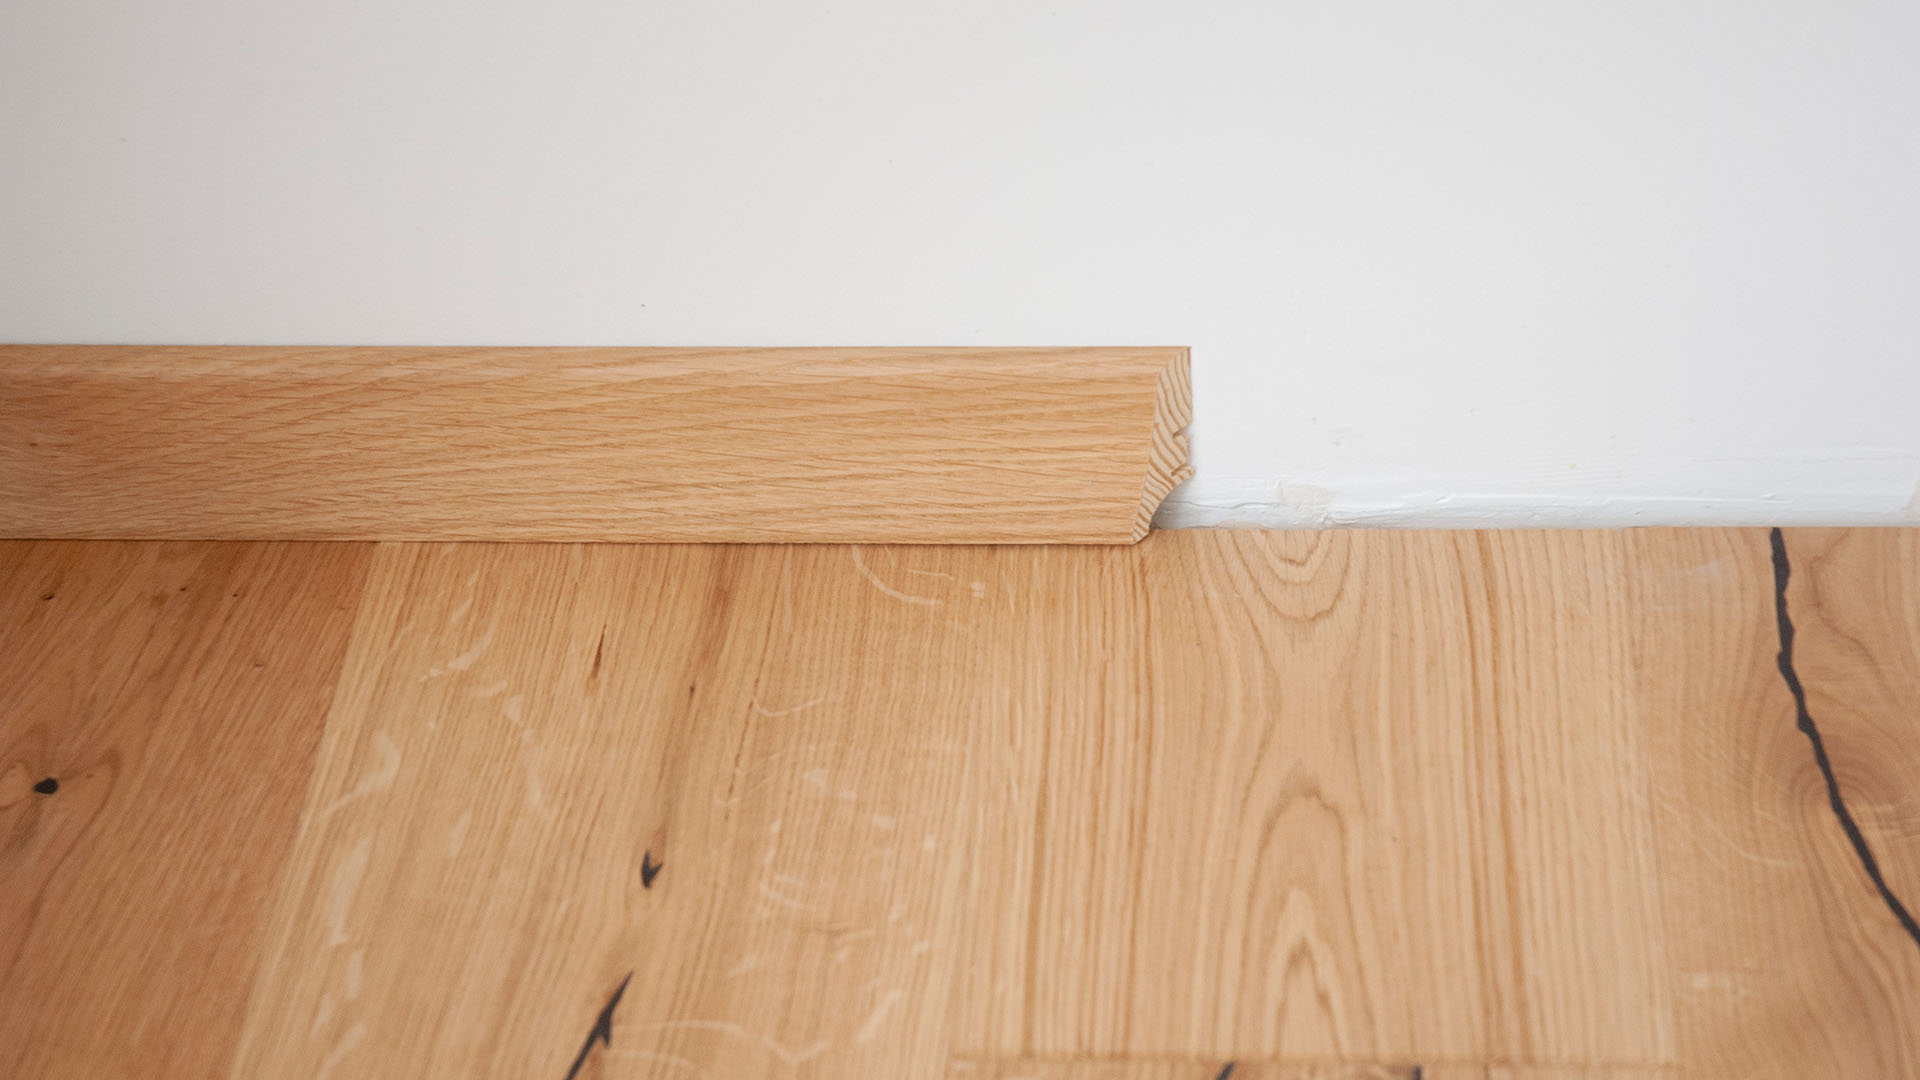
Skirting boards
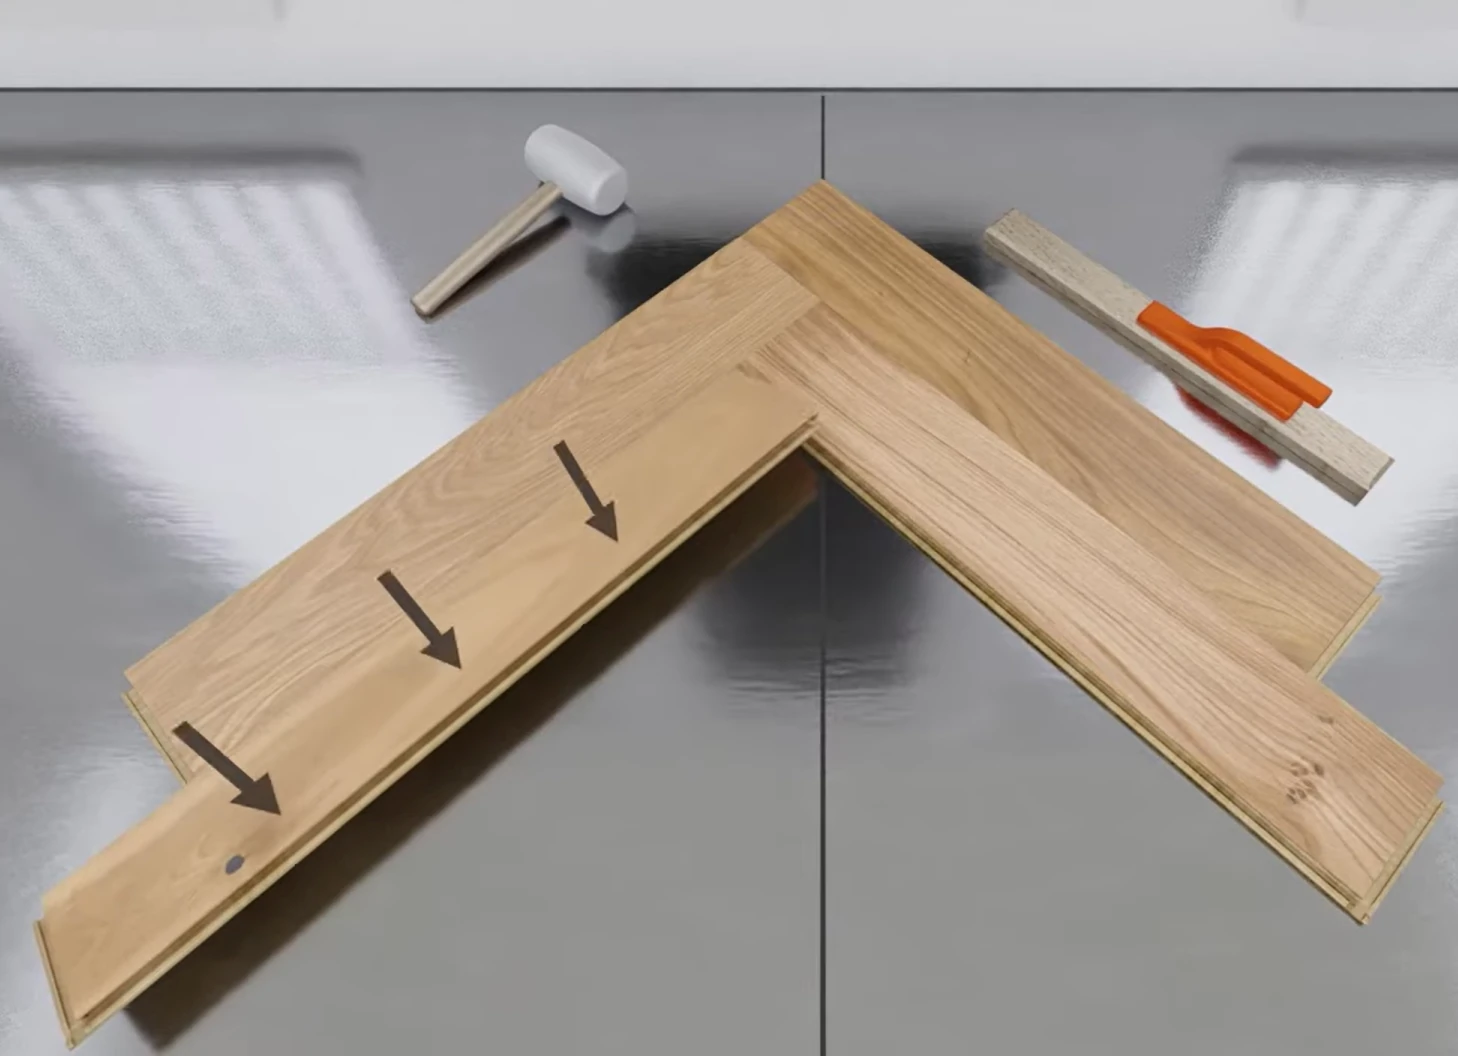
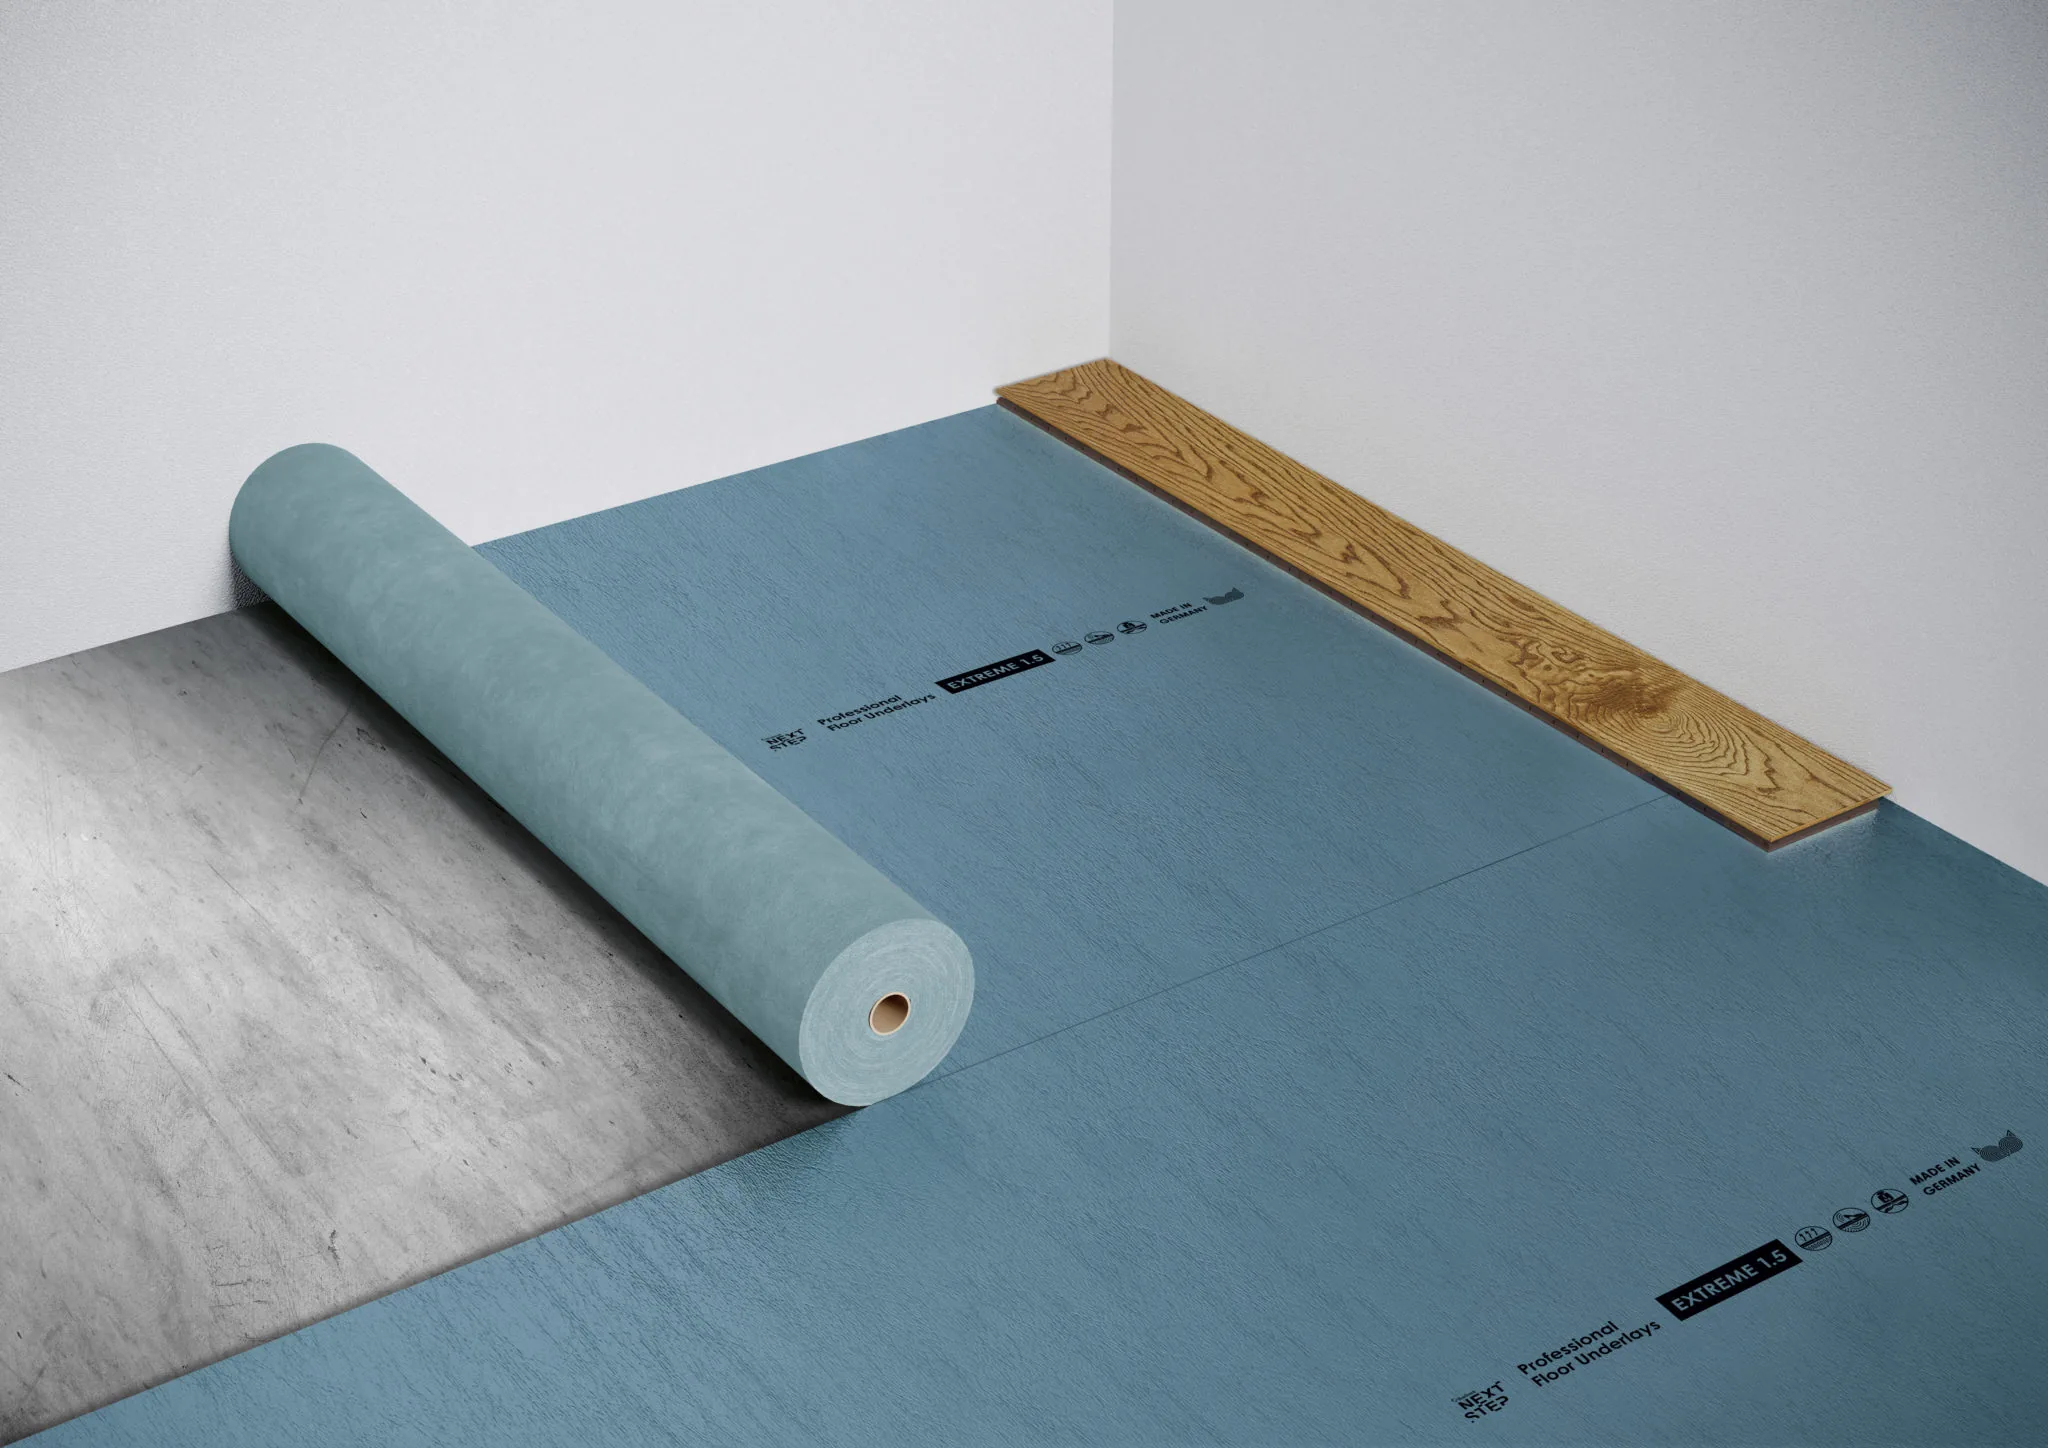
Installation
Care
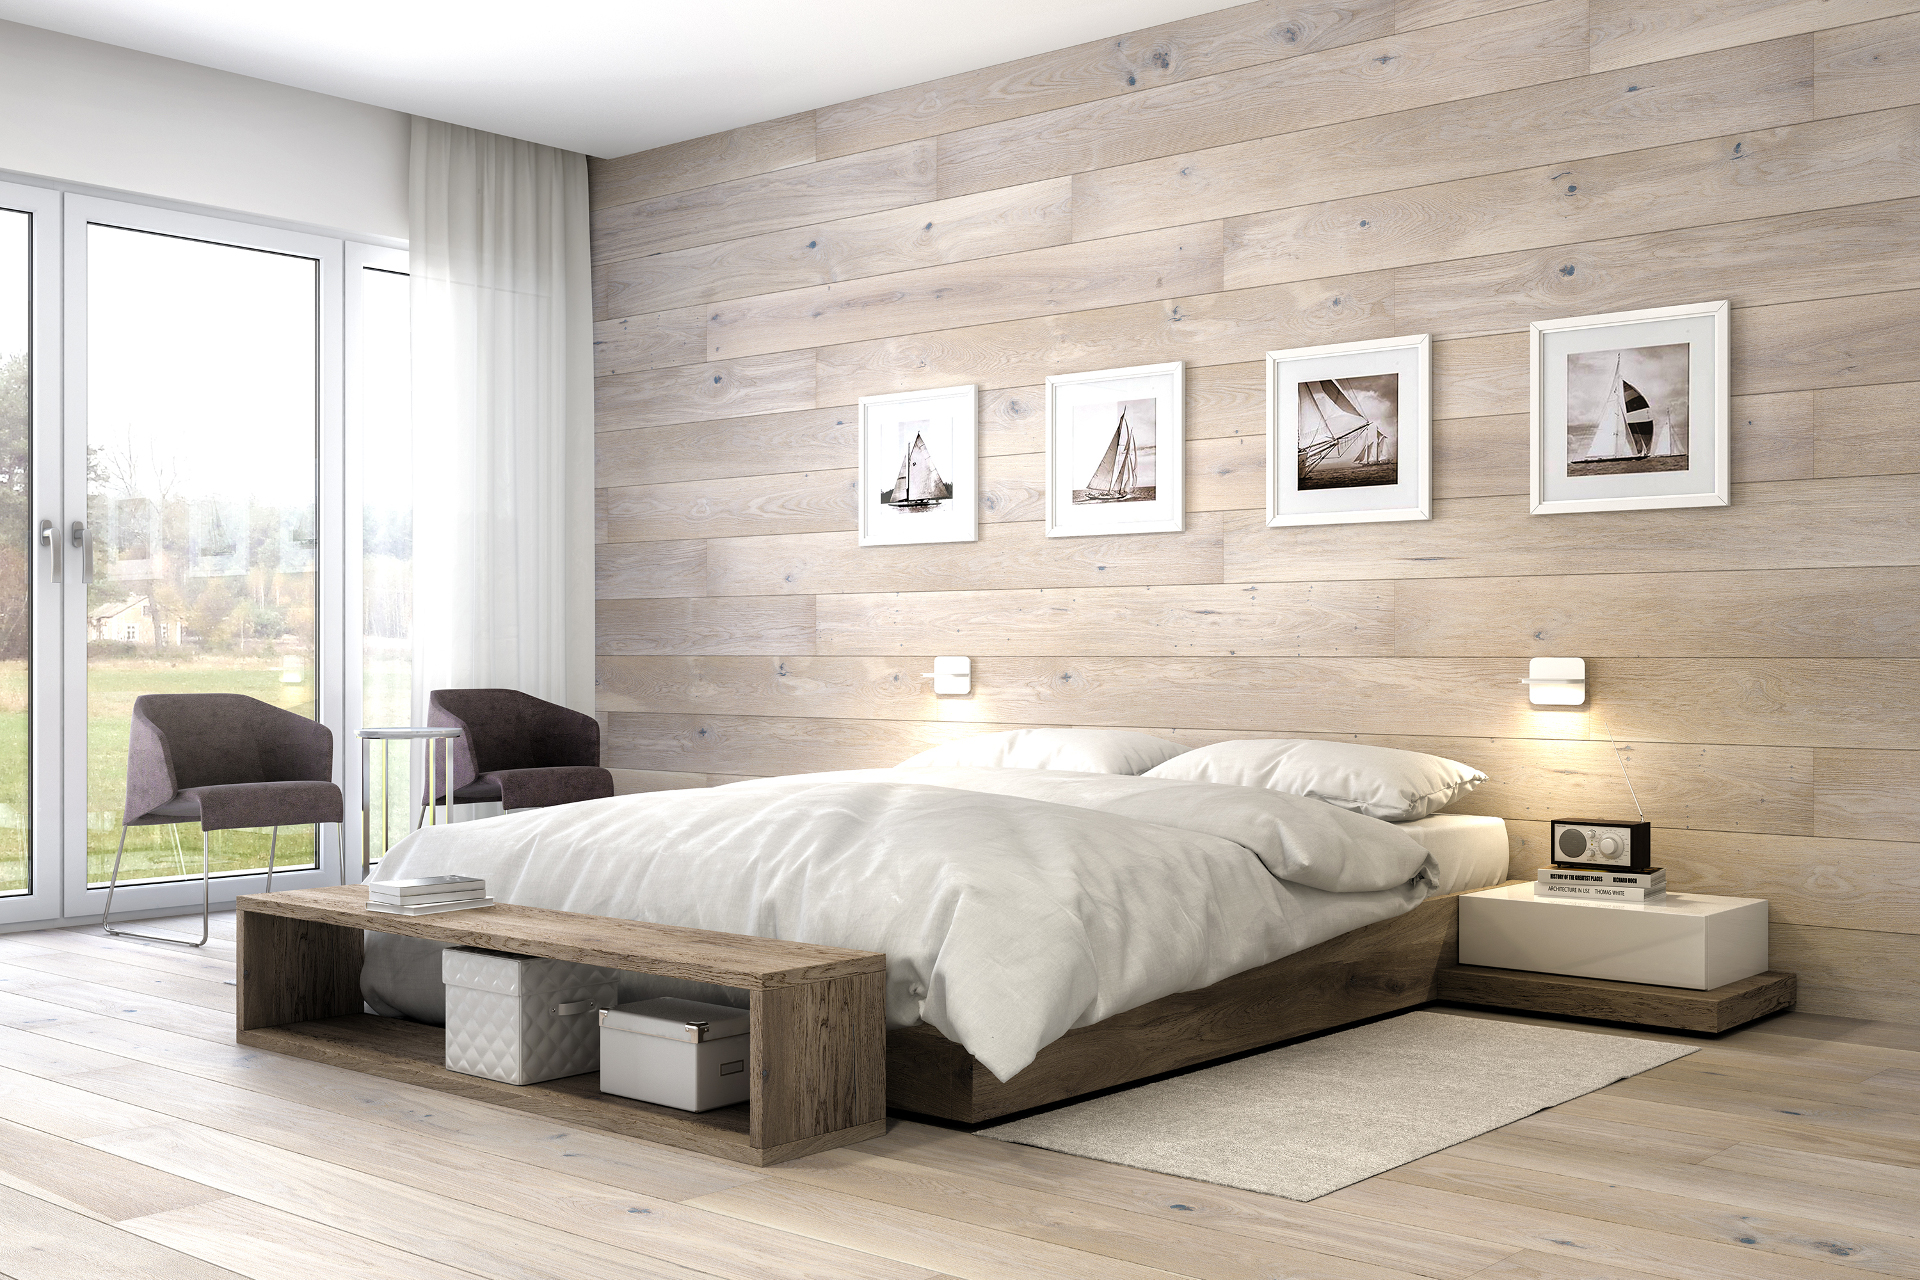
See the floor in your interior
Which flooring to choose?
Hybrid floors – products
Waterprooffor kitchen and bathroom
Vinyl flooring – products
Skirting boards PVC
Installing a wooden floor is a crucial step that determines its durability and aesthetics for years to come. Learn how to install floorboards step by step to achieve the perfect look in your interior.